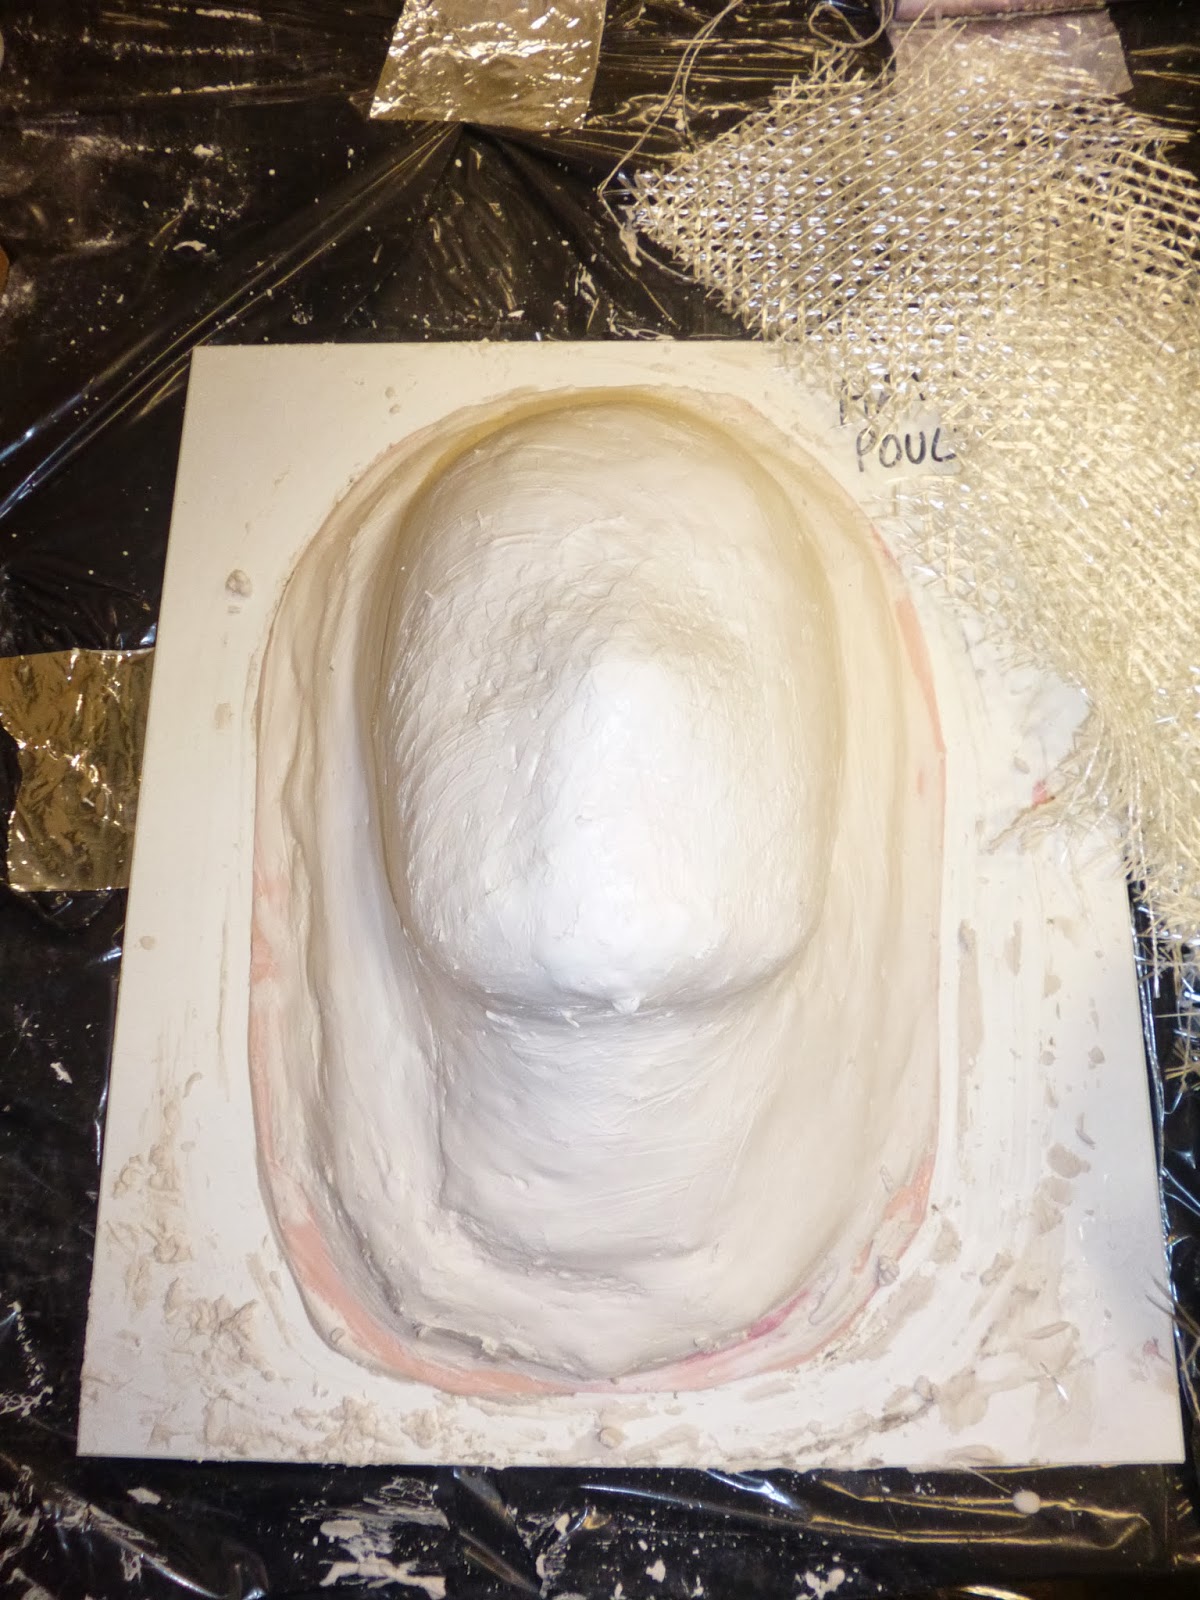
When sculpting a prosthetic piece for the front of the face it is recommended to use the two part mould process. This method is used when making a facial appliance as one side of the mould will fit secularly to the models face and the opposite side is where the sculpt will be produced. When moulding most use a variety of flexible rubber products to mimic fine details and that are easy to remove from the original cast. These products include latex, silicone rubbers and gelatine and can be used more than once. Below is a moulding part one step by step with process images for the specific brief:
 |
| Image one |
What you will need:
- Cast
- Clay
- Thin edge object (store card)
- Plastic bucket x3
- Tin silicone
- Burlap
- Burlap
- Catalyst
- Jesmonite powder
- Cold water
- Fibre glass matting
- Paint brush (which can be thrown away)
- Plaster
- Gloves (latex free)
- Overalls
- Paint scraper
Step 1: Set your equipment up on the table, put on your overalls and one pair of gloves.
Step 2: Place the cast in front of you. begin to shape an oval of clay using a thin edged object around the cast use water to soften the clay.The oval should be around 2cms high and should lie smoothly on the cast. This is made to avoid undercuts which means when silicone and jesmonite is added it will not get stuck on the cast when dried and removed. The oval is made round the edge of the cast so that it is smooth to the sculpt on. Using a small rounded object add keys in the oval clay. Keys are designed to make
sure the two halves come together correctly and when the two half’s lock
together they are therefore properly in line. (Image one). A wall of clay should then be added around the base. Diagram one implies where undercuts may exists
 |
| Diagram one |
with tin silicone with a ratio of 1:10 A layer of silicone should be 300g and catalyst should be 30g. Mixing these two products is easy and is called the GI series and is used in mould making as the chemical made will cure at room temperature over virtually any surface. Use the paint brush to apply the product to the cast starting at the highest point of the cast and allowing it to drip down make sure not to trap any air bubbles. Cover the cast before the silicone sets.
Step 4: Wait for the silicone to set. This will take around 45 minutes. (Image two)
Step 5: Take your second plastic bucket and mix jesmonite powder with water of a ratio of 2:1, in this case one mug of water and two mugs of jesmonite powder. Use the paint brush to apply the jesmonite to the highest point of the cast avoiding air bubbles. Cover the area slowly adding pieces of fibre glass matting. This product is added to support the silicone when de-moulded. (Image three)
Step 6: Wait for the jesmonite to set. This will take around 30 minutes. (image four)
Step 7: Use the paint scraper to de- mould the silicone from the plaster. You should then have the negative.
Step 8: Take your final plastic bucket and mix cold water to plaster using a cup ratio of 1:2.5. This should make a paste like texture.
Step 9: Fill the negative with the plaster slowly using your hands. Also add burlap during this process avoiding bits that may stick out. Continue adding the plaster and spread it around the silicone until it is extremely thick. Allow this to set. (Image five)
Step 10: Using your hands, pull apart the silicone from the plaster. This will give you the positive which is what will be used to sculpt upon. The silicone piece can be saved for another mould.
Step 4: Wait for the silicone to set. This will take around 45 minutes. (Image two)
Step 5: Take your second plastic bucket and mix jesmonite powder with water of a ratio of 2:1, in this case one mug of water and two mugs of jesmonite powder. Use the paint brush to apply the jesmonite to the highest point of the cast avoiding air bubbles. Cover the area slowly adding pieces of fibre glass matting. This product is added to support the silicone when de-moulded. (Image three)
 |
| Image three |
Step 6: Wait for the jesmonite to set. This will take around 30 minutes. (image four)
Step 7: Use the paint scraper to de- mould the silicone from the plaster. You should then have the negative.
Step 8: Take your final plastic bucket and mix cold water to plaster using a cup ratio of 1:2.5. This should make a paste like texture.
Step 9: Fill the negative with the plaster slowly using your hands. Also add burlap during this process avoiding bits that may stick out. Continue adding the plaster and spread it around the silicone until it is extremely thick. Allow this to set. (Image five)
Step 10: Using your hands, pull apart the silicone from the plaster. This will give you the positive which is what will be used to sculpt upon. The silicone piece can be saved for another mould.
 |
| Image four |
 |
| Image five |

No comments:
Post a Comment